I am very much impressed by the people who regularly set aside time daily, weekly, or even monthly to get their school stuff in order and laid out.
As a planner, it seems like I should be able to do the same. But the truth is that I am not a details person. I can make an amazing, beautiful checklist that incorporates all the right things in just the right way, but then I never follow it.
I jump into big, oversized projects with zest, but don’t keep my eyes on the ball to follow through on the daily repetitive necessities.
If I was to find the perfect fit for my skills and temperament in education, it would be as a school administrator and board member, not as a teacher — especially an elementary school teacher.
So, for me, a huge do-it-all-at-once planning and organizing process fits best. This is the third year I have attempted it, and I’ve figured out a lot of kinks and tricks along the way. I make our plan for the year, print and file papers, ready books, and layout the plans before we begin. However, I don’t keep track of “attendance,” or grades. I am apt to forgo the plan if the boys are caught up in a book or topic or project that is in keeping with my goals but not done in the manner or at the pace I had anticipated (for example, as I write this it is Saturday and my 6yo son picked up the Covenantal Catechism book we did last year and is reading it through. I find that just as valuable — if not moreso — than me leading them through it). I don’t care about “making up time” or finishing books by the end of the year (or before the end of the year).
When it comes to educating elementary students at home, my metaphor is art and dance rather than punch cards or production lines.
I do need a plan, but the plan must also adjust with the students and life. We don’t stress over fitting life and the students into the plan. The plan is the path forward. It is the reminder of our direction and goal.
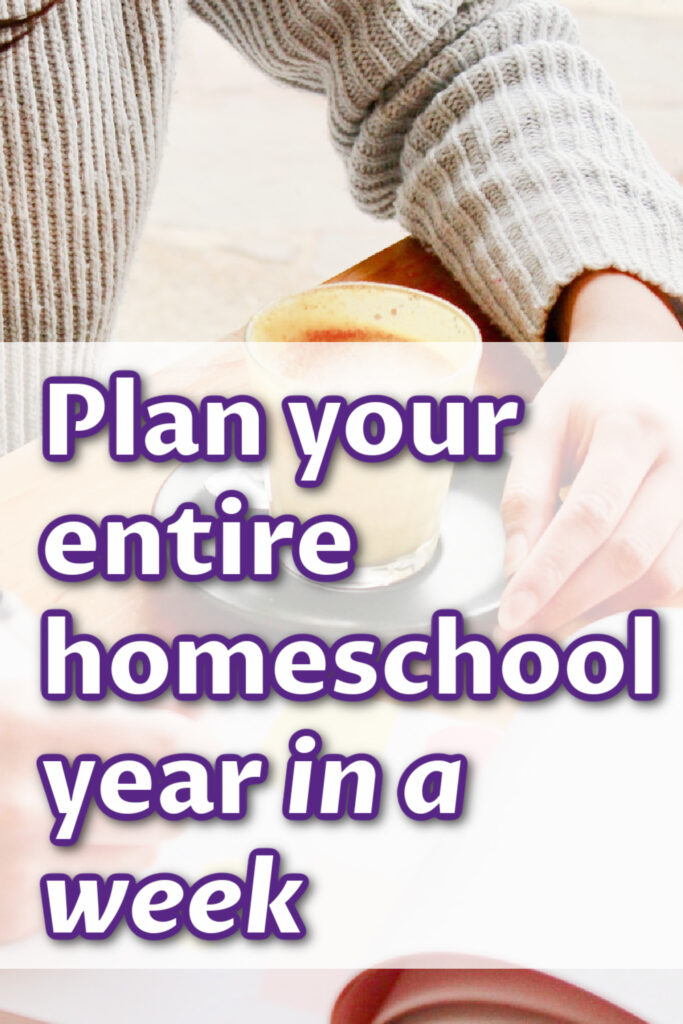
So here’s the process to creating a workable, flexible plan for the entire school year.
Table of contents

Step 1: Create an Overview
Because I am just not one to regularly and faithfully set aside time daily or weekly or monthly to get things in order, I do my best to set things up all at once at the beginning of our year so they can flow with minimal effort on my part.
I’ll always be tweaking, and bins and desks and shelves always need attention, but the question of “what to do” has already been decided and prepared, with the materials near at hand.
Here’s how I do it.
Figure out the school calendar
You might use your local school district’s calendar or someone else’s plan, in which case this step will be simple. But if, like me, you like to set your own plan, this is the essential first step.
First, decide how you’ll break up your year:
- Semesters — usually split between pre-Christmas and post-Christmas.
- Trimesters — generally 3 12-week sessions of school.
- Terms — any other length of session, but often 6-week sets.
We do a year-round schedule with 6 6-week terms. We take off a week between each term (which I use to reset and reorganize our school stuff), a week for Thanksgiving, 3 weeks for Christmas, and 2 weeks for Easter. My birthday is June 1st, and I have, my entire life, whenever it has been in my power, striven to complete school before my birthday. :) So I always plan to finish before June and take at least the month of June off, as well as part of July (which time is typically filled with swim lessons).
So, here’s how I figure out our calendar:
- I print off a year-at-a-glance calendar from donnayoung.org that goes from June-May.
- I mark birthdays, holidays, and any planned trips or vacations.
- I start penciling in numbers along the sides of the weeks, to try to work out the best way to get 6 6-consecutive-week sessions of school. I don’t like breaking in the middle of terms, and I do really like and practically need the break between terms, so this takes some massaging sometimes. I start by working backward from Christmas. We need to get 3 terms in before Christmas (Summer, Harvest, & Autumn terms) and 3 terms after Christmas (Winter, Spring, and Verdure terms). After I’ve worked backwards from Christmas to July, then I start with January and work toward May, with Easter’s ever-changing date as the wrench-in-an-otherwise-smooth-operation.
- Once I iron it all out, I use a highlighter and color school weeks orange and break weeks green, with any lite weeks (math, Latin, and free reading only) colored yellow.
This year I have the added complexity of working around a due date, which also means a third trimester, overdueness, and a newborn. Here is my calendar for the upcoming school year (click to view the full page):
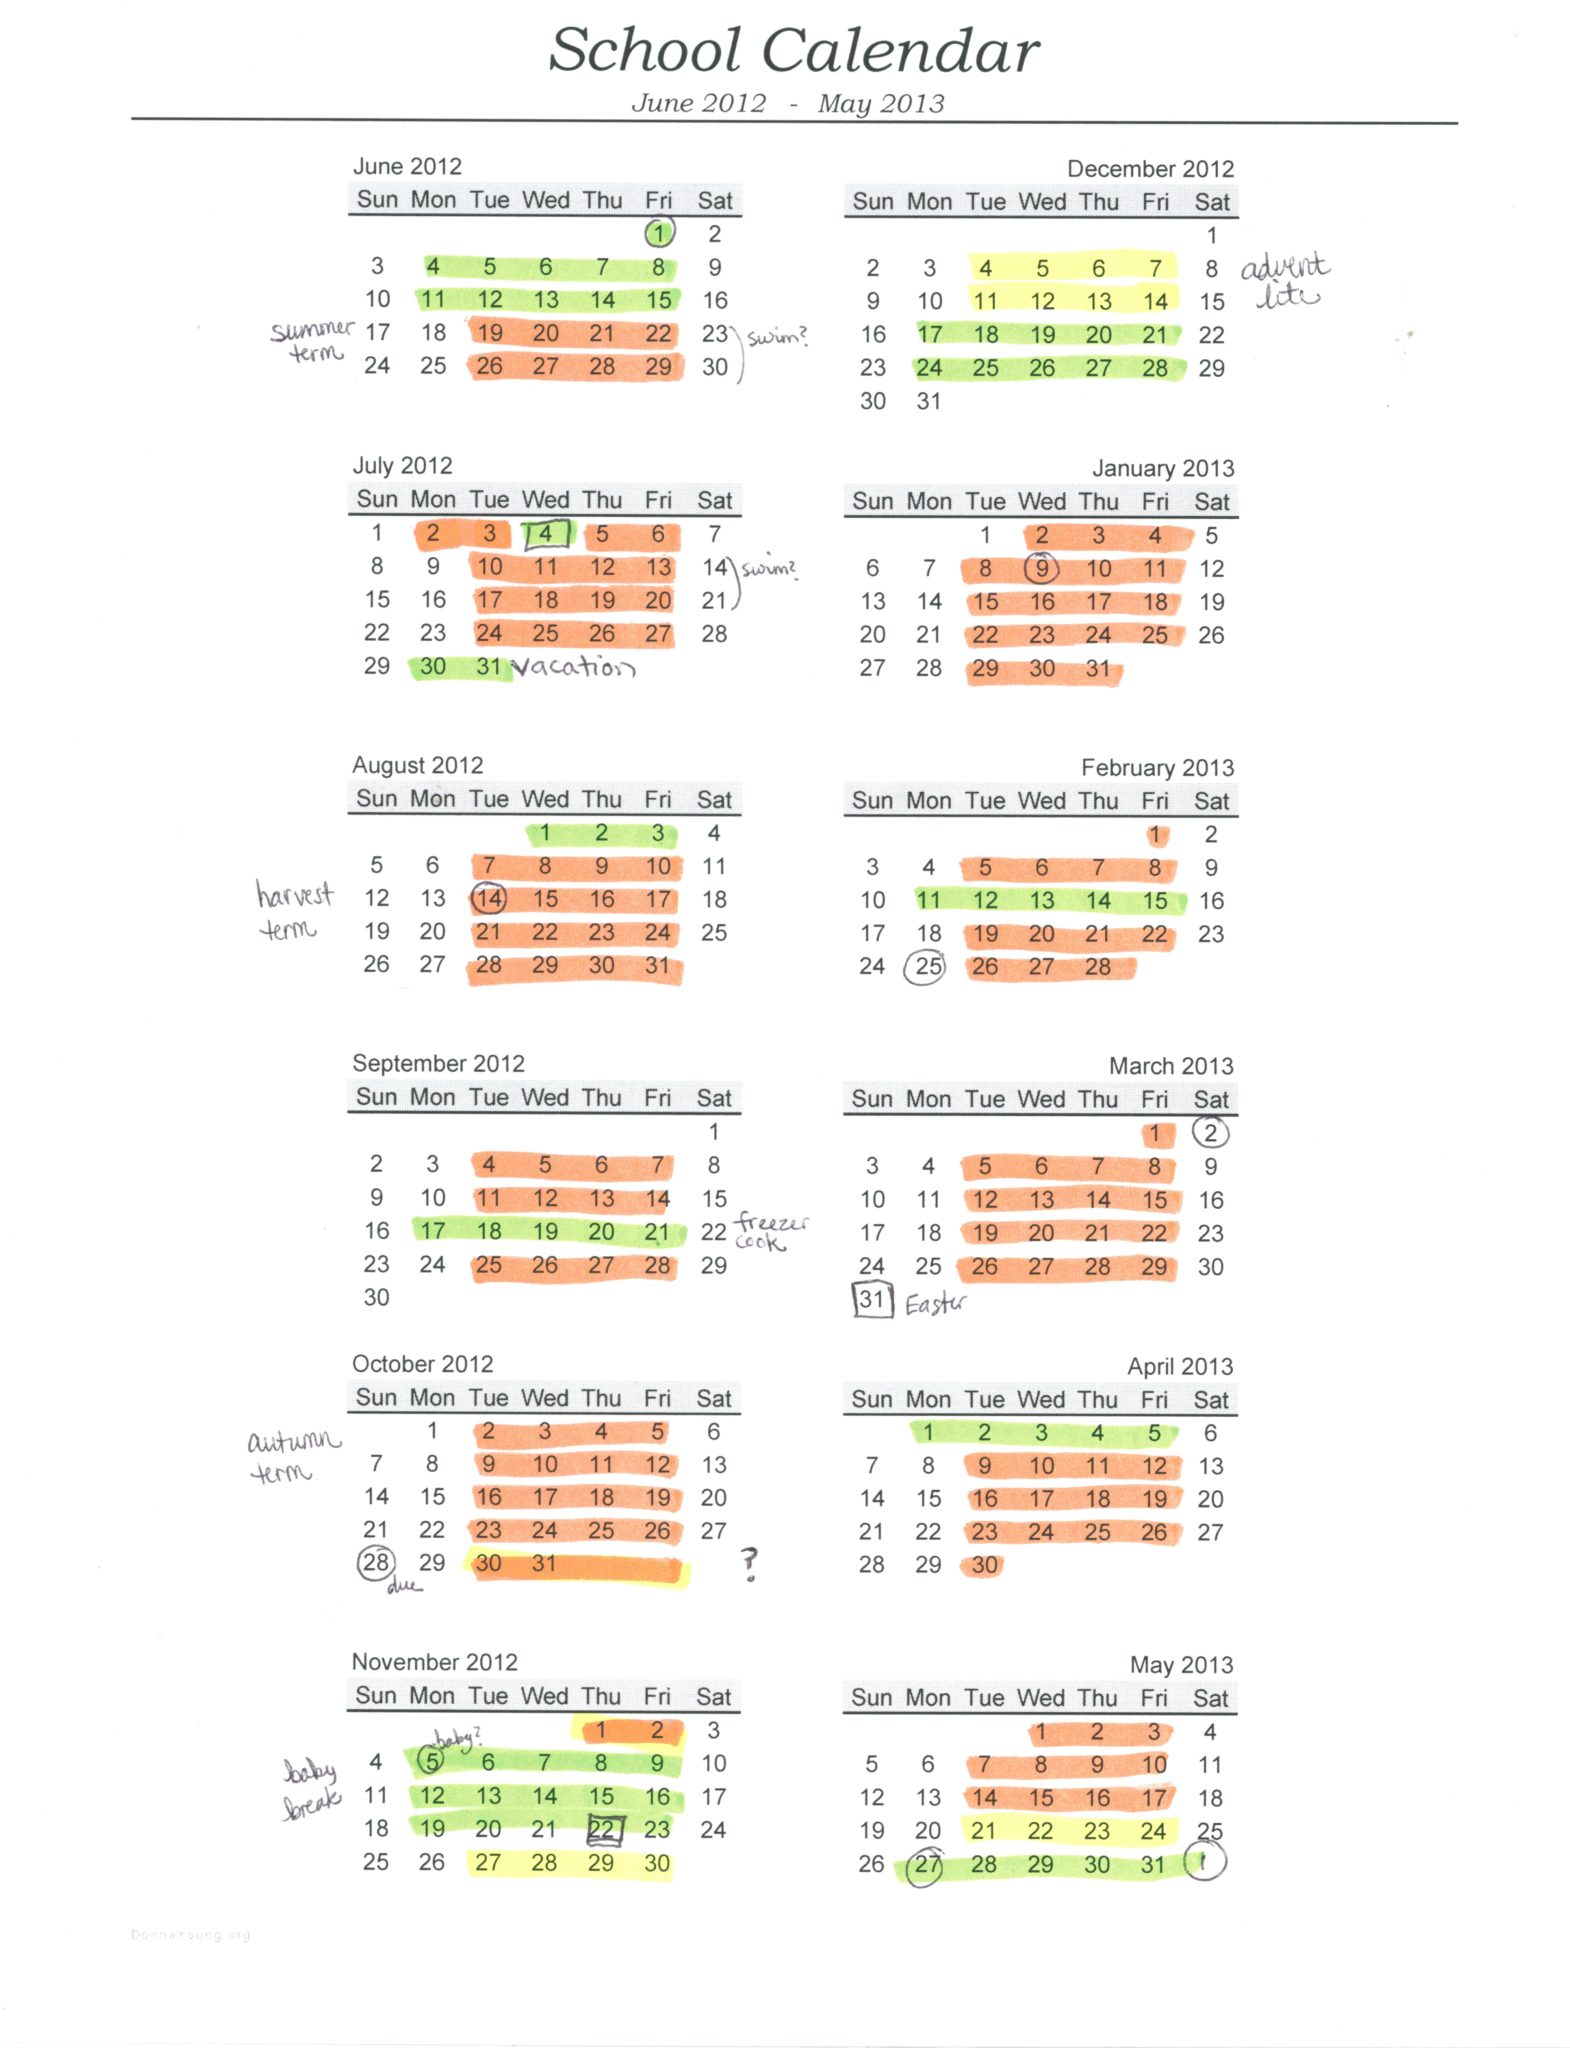
The yellow weeks (and the week after my due date is supposed to be yellow) are “lite” weeks: I’ll try to get Morning Time in a couple times a week, but if the boys do math & spend at least an hour reading, and if Hans does Latin, I’ll count it as good.
Create a chart listing your students, your goals, and the subjects
First I create a table with the names of my students across the top, as well as a “together” column. In the row underneath, I just list the basic subjects or categories of things each will do. This is the very basic overview.
Then I create another table for the more detailed overview. This one has a column per student and I list the subjects down the side. Then I start filling in with the books, curriculum, and activities/projects/assignments.
The first row is “goals.” I try to identify the short list of goals for each child. I put all the children on here to remind myself that training the toddler to obey and pick up his toys is just as important (if not more so) than that the elementary students progress in math. Yes, “progress in math” is my goal, not “reach the end of x book” or “learn multiplication,” because I work from a mastery standpoint, and that is individual and unpredictable.
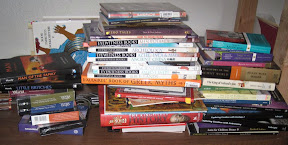
Begin a chart or list with materials and books you’ll use
As I fill in the chart, I start a spreadsheet with a list of things I’d like to purchase. I’ll usually keep my lists for reading-type books, curriculum-type books, and supplies separate, just because I like categorized lists. I also start a document with notes like “Each child gets own crayons, in a pencil box, that I keep with school-time-only stuff.” That is, as ideas for how things might work more smoothly this year come to me, I have a place to jot them down.
After a have that spreadsheet list well underway, I can also start browsing Amazon and Exodus Books and price comparing. I used to browse a bunch of different sites, but found that after all that time spent online, the best deals were usually still at Amazon or Exodus Books (who also sells used materials), so now I mostly stick to those two places.

Create a Morning Time planning chart
For this, I make a column for each term, and then each category of Morning Time in rows. Then I start filling in with memory work, hymns, and the like. In my own Bible-reading notebook, I keep a running list of passages that would be good for memory. So, as I’m reading my Bible, if I think, “Wow, we should memorize this paragraph!” then I jot it down. So I pull from that list at my planning time.
Create the year’s plot
We need yet another chart. I love charts.
This time, put the terms across the top, then label the rows with the areas that switch out each term (other than Morning Time). For us, this is composer, artist, continent (for mapwork), history period, and history sentences. This makes a handy overview reference throughout the year. I keep the same mapwork categories year to year, except that Australia gets swapped for US every other year. For composers & artists, I have a three year rotation I set up 2 years ago.
I also start a “Books to check out from the library” row with columns for each term, so I do all our library book searching once at the start of the year and can just grab it and go between terms. First I fill it in with one or two art books from the term’s artist and a composer biography, a children’s atlas for the continent, then I fill in with history-related titles as I come across them. These are also reusable lists when we eventually cycle back around — as long as the library doesn’t get rid of the books (it’s happened mid-year to me!).
Create the week’s plot
For this chart, put the days of the week across the top and the subjects or class “periods” down the rows. Fill in the chart with what you plan to do each day: how to break up the lessons, how much to do each day, which subjects you’ll do every day and which you’ll only do once or twice a week (and which days). Here you can start to get a feel for how much you’ll have to do each day, and if you should to scale back any grand plans.

Take your time over these and ruminate, gestate
I typically take 2-3 months, starting in February, to start filling things in and brainstorm my charts and lists. I take into consideration what is working well and what isn’t (and why) in the current year, look at my overall general scope-and-sequence, and start sketching things out.
If you are using already-planned-out packaged curriculums, this process probably won’t take you as long and will be much easier to fill in. Personally, I am better at making orders than taking them, so I like coming up with my own plan.
How about you? Where do you get your goals and content for your year?
Step 2: Create the Plans
So now, you have the basic overview of the year, the terms, and the weeks. Now its time to make that overview specific and practical.
1. Preliminaries
First, you’ll want to have a place — a document or a notebook or an app — where you keep a running task list. As you work out what you need for the year, put every single to-do item on one list. For example, right now my list has such tasks as
- Find composer, artist, and history books at the library & add them to the lists.
- Make or find a book report form or template
- Put color-coded labels on the spines of school books
- Label desk & bookshelves
- Redo Memory Work binders to make them more durable
- Upload audio books into iTunes playlists from CDs
Anytime as you are making charts, lists, or checklists you think, “Oh, I’ll need to _____,” write it down.
In addition to a running task list, keep a running “to buy” list. I like to keep mine on a spreadsheet, to make price checking easier. I write down every single thing I think might be nice as I go along, but I always give myself two or three weeks after completing the list before buying to make sure I really do what or need them. Plus, with a spreadsheet, I can keep a running tally, and the total-amount shock is often enough for me to go over it and eliminate.
I like to keep three columns of “to-buy” items: one for school books and materials, one for extra reading material, and one for school supplies.
With these lists ready to go, we can proceed.
Create each student’s plan, plus a together plan
More charts! This one will evolve into the student’s daily or weekly checklist.
First, the “together” plan: This is Morning Time & any other lessons or read alouds you do as a group. List out what happens during these times and try to estimate the time it will take.
Next, a plan for each student. What does each student need to do daily or weekly with you and on his own?
Finally, make that plan into a checklist for the student. Determine what he will be responsible for completing independently, and what sort of chart will work for you. A daily page? A weekly page? One page per term?
Now, the goal is to make all the checklists for the whole year at once! There are two options to make that workable:
- No dates or days-of-the-week on the checklist, only “days” of school. With this sort of chart, you can include page numbers and such, but the student works from where he left off, not from today’s date or what day of the week it happens to be.
- Assign general, not specific, work. Instead of including page numbers, say, “Read a chapter” or “Read a section,” and other such generalized assignments. This is the option I am going for this year, because it gives an element of autonomy to the students, which my sons thrive on.
Here’s my prototype so far for my 11-year-old’s daily list:
Tuesdays, Wednesdays, Thursdays
- Practice piano.
- Fill out a declension/conjugation chart for 1 Latin noun & verb from last week’s chapter.
- Write and illustrate one original Latin sentence.
- Fill out a notebooking page about a person or event from ancient history.
- Work on the week’s blank map to label
Fridays
- Practice piano.
- Read Ilse & Knox a fairy tale picture book.
- Complete your Latin quiz.
- Complete a notebooking page about something you read about in science this week.
- Write a book report about a book from your school list you’ve finished.
Because it’s the same almost every day, I’m not even printing out pages at all. It will go up on the whiteboard and he can refer to it. Then it will be on my master list for us to go over (and for me to mark off) during our daily accountability time. He will also have a book list to work through and at least an hour of reading time in the afternoons.
Create your master lesson plan & record
Combine the students’ and together plans into the format you like for planning sheets and record-keeping.
Last year my sheets were one-week-per-page tables and check bubbles like this:
This year I’m moving to paperless systems, so I am working on creating a checklist that will reside on my computer. I am still playing with Evernote, Numbers, and Google Documents; I haven’t decided which I will use. Right now I’m leaning toward creating a form in Google Documents, because I can make it look nice and be easy to fill in, but it will save the information in a spreadsheet so I (or my husband) can see at a glance how we’ve been doing.
When I’ve made the final decision and the template, I will share it.
Create a per-term book list
This is a list that makes preparing for each term much faster and easier. I, of course, make a chart. I put the terms across the top and a row for each category of books:
- library books to check out
- read-alouds (I usually merge all the terms for this one, as I don’t schedule these out. We just move on to the next when we’re done with one)
- independent-reading books that we already own
- all other books we own that need to be pulled (that is, located)
- playlists to be synced to the portable devices (includes memory work & audio books & composer)
Rejoice! You now have (almost) all the lists you will need!
Step 3: Create the Support Systems
Because I am just not one to regularly and faithfully set aside time daily or weekly or monthly to get things in order, I do my best to set things up all at once at the beginning of our year so they can flow with minimal effort on my part.
I’ll always be tweaking, and bins and desks and shelves always need attention, but the question of “what to do” has already been decided and prepared, with the materials near at hand. That is the key.
Now we turn our attentions to some of the tasks that are not exactly “school” planning, but things that help school days run more smoothly.
Create playlists in iTunes
I rely heavily on audio. So organized playlists make my life much easier. Many of our memory chants or songs are MP3s, a number of our “read-alouds” are audio books, we use the audio Bible daily, and I have accompaniment to play when we sing because I can’t stay on key without help. We also record our Bible and catechism memory (most of them recorded by my husband) so we can have audio review in the car or individually with an iPod.
Audio materials save my voice and my sanity; my kids, also, enjoy getting a respite from always hearing mom’s voice all day long. Plus, it means I can whisper threats or deal discipline to toddlers without interrupting the flow; it helps the toddler or preschooler not get the chance to become an center-stage tyrant.
Here’s how I organize my playlists:
I have a folder for “school” which within has playlists for each subject or audio CD, such as “Geography Songs,” “Timeline Song,” “Shurley Grammar Chants,” “Bible Memory Songs,” and “LFC A.”
I also have a folder for each term, with internal folders for each day of the week as well as term playlists for composer, hymns, listening time, and review. Inside each day’s folder are playlists for memory time.
I made a folder for children’s audio books, with a playlist for each audio book we have. My favorite is probably Pooh read by Peter Dennis, because before I heard him read it, I honestly was terribly confused trying to read it aloud myself. We often listen to Pooh in the car. I also borrow audio books fromt the library, our favorite being Cherry Jones reading Little House; we listen to these in the car or during lunch.
Determine your processes
Next, it’s time to work out the details. I find writing this all out and envisioning it beforehand helps the daily flow tremendously. I usually work day-to-day from an outline rather than this detailed list, but I like having it on hand to go over it when I have a brain-freeze or when my improvision has gotten out of hand and needs to be brought back to the plan again.
As you write it out, you will likely come up with ideas that will help the days run smoother, like “the math blocks must be put away before moving on to the next thing” or “put all the books away before lunch” or “the daily checklist needs to be signed by mom before the student is done for the day.”
As you come up with those ideas, add them not only to the plan, but also to a separate “cheat sheet” you can go over during with everyone during Morning Time as needed. Some of the essential ones I add directly to the students’ checklists or on a sign at their desk, too, so they have no excuse, and may not be allowed to “forget.”
Create the daily and weekly flowchart/routine/schedule
Whatever you call it, it’s good to have a plan of action for each day. I like to have times assigned on ours, because it helps me be realistic. If I don’t, I end up with a long list of things we will do in the “morning,” only to find that the morning is not nearly so long as I had thought. I no longer plan out by 15-minute increments, however. Instead, I simply give each hour a broad category like “breakfast & chores,” “Morning Time” and “independent work.” That works better for us.
Look at your student and master plans and figure out when the best time of day would be to do what. Do you have too much you’re trying to cram into not enough time? Is there still time in the day for outdoor and free play? Is there time for putting school stuff away and having an afternoon house tidy? Is it realistic for your family to start at 8, or would 9 suit you better?
Think through it all, and do your best to be realistic. This is the document I do tweak and reprint every term, because I often find I miscalculate how long things will take in the beginning, and with children as young as ours, stages change rapidly and require frequent revisiting and tweaking of the plan.
This is also the time to try to examine the plan for the day and have a strategy for the toddlers and preschoolers. Should you take advantage of naptime with the olders (if you get naptimes)? Will your toddler sit and do table activities for 30 minutes (if so, blessed are you)? Will your toddler stay in a pack-and-play without screaming his lungs out or breaking it while trying to escape?
It’s good to have some strategies at hand, but toddlers and preschoolers often require responsiveness and playing-by-ear. I’ve browsed my fair share of “what to do with toddlers during school time” posts, and pretty much all the ideas seem to be for docile, meticulous toddlers, not energetic, impish ones. Only my daughter ever cared to sort things by color, and none of mine felt it necessary to follow instructions on — or want instructions for — preschool worksheets.
Create household support systems and homeschool documents
Ok, look over your “to do” list. What documents and forms and sheets do you have to create or find? Now’s the time to do it! Here are some of the things I am working on:
- Worksheet with tables for declining nouns and conjugating verbs
- Book report template
- Handwriting practice sheets with Startwrite
- Term progress analysis sheet
And some of the documents I have that I will be printing:
- Italics, Beautiful Handwriting for Children, the cursive pages
- Notebooking Pages from donnayoung.org
- Math Drill Sheets and Calculadder math drills
- Blank continent maps
Now is also the time to make the related support systems for your day:
- a chore chart or checklist
- add all school dates to your calendar
- file papers with state, or at least prepare them
- add “order achievement tests” to your task list in April or May, if necessary for your state
And never fear: Next Tuesday we will move on to the tangibles.
Step 4: Organize the Stuff & Space
This is my third year of planning, preparing, and organizing our entire year of school all at once before we begin. I am not consistent enough to have a regular weekly teacher preparation time, much less a daily one, so this is what works for me. I hope it helps you, as well.
Now that all the plans are in order, it’s time to get and deal with the actual stuffs.
Place orders and go shopping
The fun part! Revise your shopping list, do any price comparisons, and place orders. Also take your supplies list to WalMart or Target or some other supply store and get what you need.
Set aside a table or place somewhere to collect the stuff related to the next year. Pull all the supplies and books you already own and gather them in your designated space.
Completely empty everything
While you wait for your orders to come, and if you are not currently “in session” with school, completely empty everything, clean it, and re-sort. I don’t know how, but crumbs and junk and toys tend to accumulate in our book and paper bins, and the children often squirrel all manner of stuff into their desks. The beginning of the new year is a time for a fresh, clean start.
Line up all bins, crates, binders — Label & add inventory to them all!
The first year I created my year’s set-up, I did — of course! — label my bins and tabs. It’s helpful when you can know at a glance what a thing is supposed to contain — because half the time it probably won’t contain what it is supposed to. Give each bin and shelf a mission and purpose, and stick a label on it. Then sorting and putting things away will tax your mental reserves much less.
I am taking it a step farther this year. Not only am I labeling everything, I am adding an inventory sticker to each bin & binder, focusing primarily on any the children will be using. This way, they can refer to the list, see what is supposed to be in the container, and if it doesn’t have those things, they have a problem. This will also make my checking in on them easier, I hope. I’ll also keep master inventory lists in with my notes.
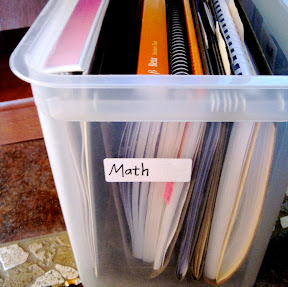
Organize the papers (start printing!)
Before you start tearing apart workbooks or printing pages, set up the bins and files that will hold them. I use file bins, with labeled hanging folders, containing labeled manila folders. Sometimes these are outrageously priced. I have found them on sale sometimes at WalMart or Joann’s for $5-$6, though. I have plenty now, but I’m always tempted to buy backups when I see them at a good price.
Last year I had a hanging folder for each term and manila folders for each student as a way to organize checklists and necessary pages. This year I made those manila folders into more broad categories (coloring pages, extra maps, math drill sheets, extra preschool sheets), and have accordian folders for each student. Each term has a section and I have gathered the pages each student will need to complete his independent work into piles, paperclipped by week. So each week the student can get his packet of papers for the week and I don’t have to be at their beck and call answering, “I need lined paper! I need a map! What kind of paper should I use for my drawing?”
We’ll see how it works.
Additionally, you’ll want to set up an “inbox” for each student. This has been a clutter-saver for me! Instead of piles of papers collecting on the table or counter or desk, when the child finishes something, he directly puts it in his inbox. We all know where it is if we need it, and, importantly, it’s not littering the house. My children also put their free-time drawings in here, and anything else they might want to keep.
That inbox, then, can get full fast. I have a separate “completed work” file box at my desk, where I put completed & corrected papers that I want to save. I put any writing assignments here, a couple representative math and Latin pages, and the best of their artwork. This year I started putting these papers in a binder for each child, and they do like to pull them off the shelf and browse them, which I think counts as “review.”
Plus, they have a quick thing to grab and show off to dad or grandma. At the end of the year, I’ll sift through them again to cull the very best, then scan these and then toss — or burn — them. I don’t want to keep papers around, but it’s probably a good idea to have some record that they did something.
Also, decide where you will put work you’ve corrected but needs to be redone. Does your student have an inbox or folder or clipboard at his desk? We started off with clipboards last year, but 12 weeks seems to be the lifespan of a clipboard in my sons’ hands. However, they have shelves above their desk, so I designated one as their inbox; this is also where they can keep their weekly packet of papers.
Having a place for all the papers to go makes for a smoother process and a less littered (and less homeschooly looking) house.
Organize the books
If you keep a personal library catalog, you’ll want to enter and possibly label your books as they arrive. I use LibraryThing and I like to put a “from the library of” sticker in all our books.
Fill chapter and page info into the checklists, if you must
If you prefer specifics in your plans instead of a general guideline, then now is the time to fill in the plans with page numbers. However, honestly, do not do it this way for a whole year at a time unless you are a really meticulous, stick-to-the-plan-no-matter-what type. I have never found that keeping to that detailed of a plan is possible even on a term basis, much less yearly, at least not everyone mostly under 10.
Instead, my checklist items are general rather than specific; more of a “do the next thing” than “read pages 120-129.” Really, that’s the only realistic way to do it if you’ll be planning out the entire year at the beginning.
I do try to figure out how much we have to do daily or weekly, on average, to finish by the end of the year, and I write that inside the book or on a post-it inside the book. On the table of contents made I might mark generally where we should be by the start of each term, too.
This year I’m adding a color-coded sticker to the spines of books I want to stay in our school area. Books tend to migrate at our house. I’m hoping a spine sticker will make reorganizing weekly or between terms faster and easier. And I’m hoping the stickers stay put. Often my sons seem to think that people put stickers (including library bar code stickers) on books to be mindlessly picked at while they read.
Set up Morning Time Binders
A final set-up step will be to set up your Morning Time stuff. I have a bin with our Bibles and coloring pages and stuff like that, but we each have our own binder with the hymns and memory work.
Step 5: What to do between terms
Although the bulk of the planning is completed before school begins, there are still some things that must happen between terms. Between terms I reorganize the shelves and papers and desks and bins, as well as swap memory material in our Memory Work binders. It helps to keep the list of what to do between terms complete and handy, so I don’t have to rethink it every 6 weeks!
1. Declutter from completed term
- Clear every bin & shelf & desk out and resort
- Collect library books to return
- Make sure all books read are logged
- Make sure the records are filled in
- Make sure all papers are either tossed or filed
- Fill in an analysis/progress sheet (yet to be created or used)
2. Prepare for next term
- Check out library books needed
- Update loaded playlists on iPods
- Update Memory Work binders with term’s new material
- Go over the overview to remind yourself of goals, etc.
3. Related tasks
- Update schedules, chore charts, etc.
- Have a kitchen day to prepare dinners or lunches for the freezer
- Have a cleaning day
- Have a fun day
As I’ve been putting my plans and papers into order, I’ve had one passage from Loving the Little Years continually pop up in my head:
If there is one thing I have learned in the course of my fast and furious mothering journey, it is that there is only one thing in my entire life that must be organized. The kids can be running like a bunch of hooligans through a house that appears to be at the bottom of a toaster, and yet, if organization and order can still be found in my attitude, we are doing well. But if my attitude falters, even in the midst of external order, so does everything else.
It is so, so true.
So, how to keep — or get! — that organized attitude? I have no magic, no formula, no real answer. But remember that it is not something we can manufacture all on our own, pulling ourselves up by our own attitudinal bootstraps. I’ve tried it. It doesn’t work.
It’s a work of the Spirit. The fruit of the Spirit. It is a promise that peace, joy, and all the rest are ours when we ask and believe — when we actually want to receive it more than we want to wallow in our sinful bad attitude. A bad attitude about a house or plans or — get this — children’s attitudes gone awry is a sin I often cling to, feeling justified in keeping it as a pet rather than repenting and receiving joy.
So prayer and staying steeped in God’s Word are essential to keeping attitudes organized and perspectives maintained.
Heidelberg Catechism, Lord’s Day 45, question 116: Why do Christians need to pray?
A: Because prayer is the most important part
of the thankfulness God requires of us.
And also because God gives his grace and Holy Spirit
only to those who pray continually and groan inwardly,
asking God for these gifts
and thanking him for them.